

Let's Chat: Unboxing Your Pedego Bicycle
Let's Chat w/ Nathan: Unboxing & Assembling Your Pedego Electric Bike
You've just received your Pedego electric bicycle in the mail. So, how do you set it up? Nathan breaks it down, step-by-step, to make your transition from box to pavement easier.
Steps to Unboxing Your Bike
Unboxing the Pedego bicycles are all pretty much the same concept (with the exception of the Tandem, which will come in a much larger box). You should be able to follow these steps with little variation between the bicycles.
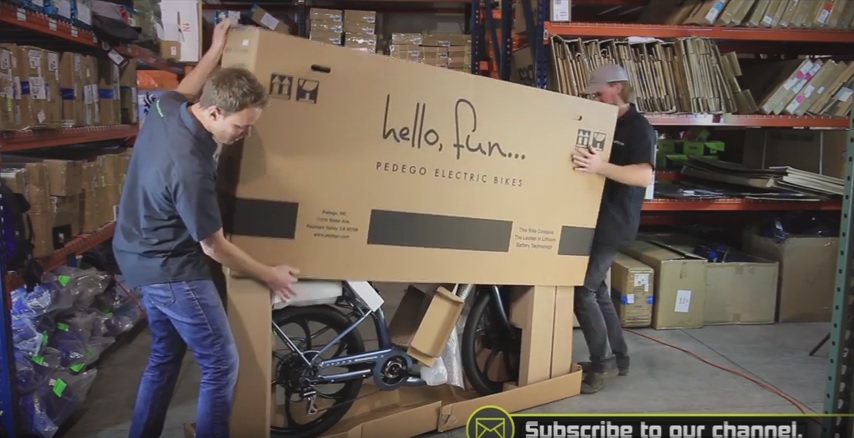
Step 1: Unboxing
The first thing you'll want to do (after staring in amazement that your package has arrived) is cut the tape along the bottom edge of the box. Then, you'll want to lift the box gently as to not tilt the bike (this is best done with a buddy). At this stage, you'll want to start taking the cardboard and plastic off of the bicycle. When you take off the bottom portion of your cardboard, lift the bike, remove the cardboard, and place the kickstand down to hold the bike. When you're unboxing, you'll find a wrapped package which contains your toolkit, your charger, and your user manual. Unbox the wrapped package and locate the toolkit. Once you open your toolkit, remove the remaining bulky plastic on the bicycle.
Your Toolkit
Your toolkit will come with all of the Allen keys, screwdrivers, and torques head. Also includes a spoke wrench, a smaller adjustable wrench, and a few spare caps for your axles.
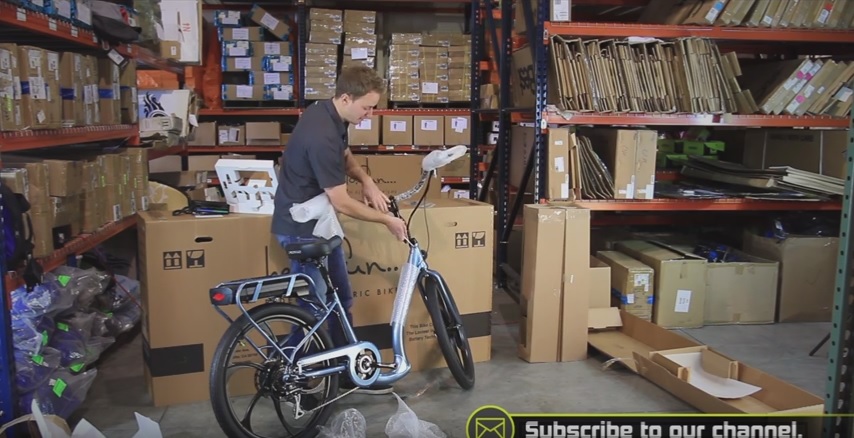
Step 2: Setting Your Handlebars
Your handlebars will be separate from the rest of the bicycle. To place the handlebars on your Pedego, take off the rubber cap off the bars which will reveal the nut to tighten your bar into the headtube. You will need to use your Allen wrench for this endeavor. Make sure you have full clearance of the cables before lowering your bars. Insert the bars into the tube. Keep pulling the plastic off around the bar, being very careful of cables.
Once that's finished, stand with your legs around the bike (you'll want the bike positioned in between your legs). Straighten your bars visually and then take your 6mm Allen wrench and tighten the bar to the bike snugly.
Step 3: Setting Your Pedals
Grab your pedals and take a look to see which one is the left and the right (they're labeled). Put the left pedal on the lefthand side of the bicycle and screw it in by hand. You'll want to do the same for the right side.

Then, take your adjustable wrench and release the kick stand. Set the wrench to the appropriate size on the pedal, and pedal backwards. This will tighten the crank and pedals. You'll feel the pedals tightening. Once you start to feel resistance, give the pedals a good pull, and you'll be all set. You'll want to do the same on the opposite side.

Step 4: Wrapping It Up
At this point, you're almost done. You'll want to check your brakes, your chain, and your tire pressure to make sure everything is operational. Then, you can see the charge of your bike by pressing the button on either the side or bottom of your battery. Most Pedego bicycles come with about half a charge after initial unboxing. You can check the battery status on the monitor on the handlebars.

Nathan's Tips / Hints:
- When screwing in your pedals by hand, make sure they feel easy to screw in. If you're feeling any resistance, check to make sure you're screwing in the right pedal with the right side. You do not want to screw up the thread on the pedals.
- If you're going to use a torque wrench, there are specifications to how much to tighten your bars in the user manual.
- If you need to pump your tires, the appropriate pressure is located on the side of the tires.
Recent Posts
-

Will YOU ride for peace?
As everyone well knows at this point, Ukraine is struggling with a huge humanitarian and refugee …Apr 14th 2022 -
 E-Bikes")
Why We're Excited About The Serial 1 (Powered by Harley Davidson) E-Bikes
We're excited to announce that we are now a Serial 1 electric bike dealer! Serial 1 (Powered …Oct 1st 2021 -

Why Magnum's New Nomad E-Bike Is Great For Any Outdoor Lover
The Nomad is one of the newest e-bikes to grace Magnum's 2021 product line. The model is …Aug 24th 2021